Receipts
POS receipts display the following elements:
|
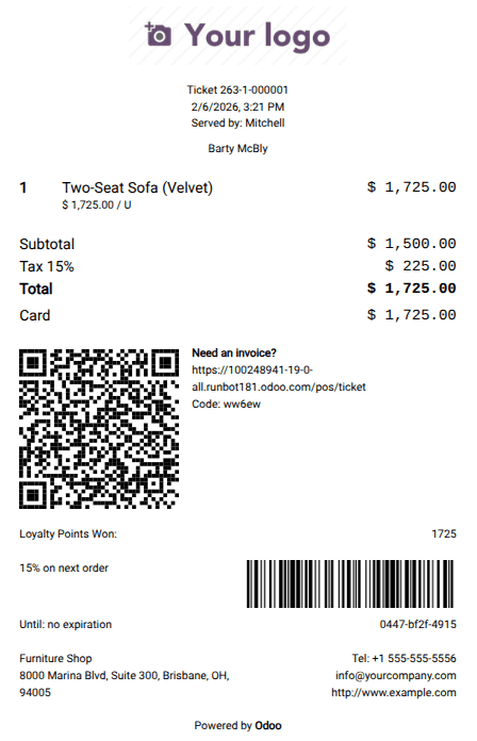
|
To set up POS receipts, navigate to the POS settings and scroll down to the Bills & Receipts section.
To customize the header and footer, activate the Header & Footer setting and fill in both fields with the information to be printed on the receipts.
To print receipts automatically once a payment is registered, enable the Automatic Receipt Printing setting.
To print receipts that don’t display product prices, enable the Basic Receipt setting.
Receipts can be sent by email by default, but also by SMS or through WhatsApp. To do so, activate the SMS Enabled or WhatsApp Enabled option(s).
Note
The WhatsApp Enabled setting is only available if the WhatsApp Messaging module is installed.
See also
Reprint a receipt
To reprint a receipt, navigate to the POS interface, click Orders, open the dropdown selection menu next to the search bar, and change the default All active orders filter to Paid. Then, select the order and click Print Receipt.
Tip
Filter the list of orders using the search bar: type in your reference and select Receipt Number, Date, or Customer.